

Sourcing Rapid Tooling Services without a clear technical brief is one of the fastest ways to waste budget and delay your launch. Before contacting a single vendor, you need to lock down four core requirements that will shape every conversation, quote, and mold design decision that follows.
Start with your material. Identify the specific plastic resin — whether that’s ABS, PP, nylon, or a glass-filled grade — and confirm its shrinkage rate. Shrinkage directly affects cavity dimensions, and a mismatch here causes chronic dimensional failures.
Define your mold-life target. A bridge tool rated for 1,000 cycles has very different construction needs than one running 50,000 cycles. According to the OxRapid Technical Guide, rapid tooling typically uses aluminum or soft steel to bridge the gap between prototyping and high-volume production — so clarifying your volume upfront determines which material is appropriate.
Nail your tolerances and surface finish. Reference SPI standards when specifying surface finish grades, and document critical tolerances on a marked-up drawing before any quoting begins.
Use the checklist below to organize your requirements document:
- Resin type and shrinkage rate
- Expected mold-cycle life
- Critical dimensional tolerances
- SPI surface finish grade
- Bridge tooling vs. full production mold classification
With these requirements documented, you’re ready to evaluate whether a manufacturer has the technical depth to actually deliver — starting with their design and engineering capabilities.
Step 1: Validate the Manufacturer’s Technical Expertise
Once your requirements are documented, the next critical move is vetting the supplier’s actual capabilities — not just their marketing claims. A value proposition is only credible when it’s backed by verifiable evidence, and mold-making expertise is no exception.
Work through this checklist before committing to any vendor:
- Request a DFM report sample early. Ask for a redacted example from a previous project. A thorough report flags wall thickness issues, draft angles, and potential sink marks — if they can’t produce one, that’s a red flag.
- Clarify in-house versus brokerage. Some suppliers own their tooling equipment; others outsource to third-party shops. In-house teams typically offer tighter quality control and faster communication loops.
- Verify ISO 9001:2015 certification. This standard confirms documented quality management processes are in place — a baseline expectation for any serious supplier.
- Evaluate complex geometry experience. Ask specifically about undercuts, side-actions, and sliders. Proactive engineering support — where the team flags DFM issues before production starts — prevents costly rework downstream.
Bold tip: Always compare DFM report samples across shortlisted vendors — the depth of analysis reveals capability gaps that sales calls never will. With your supplier validated, the next step is preparing your CAD files for a formal DFM review.
Step 2: Submit Your CAD Files for DFM Analysis
With your supplier’s credentials verified, the next step is initiating a formal Design for Manufacturability (DFM) analysis — the technical handshake between your design intent and what the tool can actually produce. A qualified Rapid Tooling Services Manufacturer will flag potential problems before steel is cut, saving significant rework costs downstream.
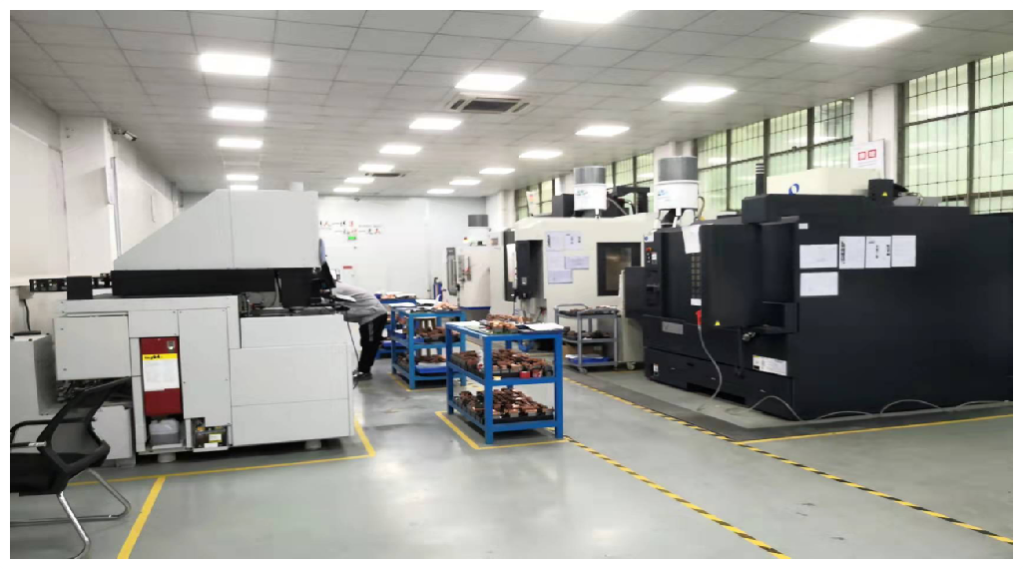
Submit files in STEP or IGES format for maximum compatibility across CAD platforms. Modern DFM workflows accept these standard formats and return automated feedback rapidly, giving you actionable data fast.
Your DFM submission checklist should cover:
- Draft angles — Request a wall-by-wall review; insufficient draft (typically under 1°–2°) causes drag marks and ejection failures
- Gate placement — Analyze position relative to cosmetic surfaces to minimize sink marks and weld lines
- Cooling line layout — Confirm channel routing supports uniform heat extraction and shorter cycle times
- Wall thickness uniformity — Flag transitions that could cause warping or voids post-molding
Transparent communication during this review stage matters. Research published on ResearchGate confirms that transparent production communication directly affects consumer trust and purchase intention — a principle that extends to supplier relationships. How a manufacturer handles DFM feedback reveals as much about their process discipline as the analysis itself.
Once DFM is approved, the conversation naturally shifts to mold-design decisions and material selection.
Step 3: Review the Mold Design and Material Selection
Understanding how to source plastic injection molds effectively means going beyond price comparisons — the mold-design review is where long-term tool performance is either secured or compromised. With your DFM feedback incorporated, the focus shifts to finalizing the blueprint before any steel is cut.
Mold material selection is the first major decision. The choice directly impacts thermal conductivity and cooling rate throughout the injection process, which in turn affects cycle time and part quality. A practical framework:
- P20 pre-hardened steel — best for production runs of 100,000+ cycles; excellent durability with moderate machinability
- NAK80 steel — ideal for mid-volume tools requiring high polishability and tight dimensional accuracy
- Aluminum 7075 — suited for low-volume or bridge tooling where speed-to-first-shot matters more than longevity
Ejection system verification is equally critical. Confirm whether the design specifies ejector pins, blade ejectors, or stripper plates — each handles undercuts and thin-wall geometries differently. Mismatched ejection and part geometry is a common cause of cosmetic defects.
Mold base dimensions must align with your target press’s platen size and tie-bar spacing. A supplier with strong precision machining capabilities will flag incompatibilities during design review rather than after fabrication.
Finally, confirm in writing that the provider owns responsibility for final tool performance — not just the build output. Once design approval is signed off, the focus moves squarely to what happens inside the machine shop.
Step 4: Monitor the Tooling Fabrication Process
With mold-design approved and materials confirmed, active project oversight becomes your most valuable tool — and any solid rapid tooling tutorial will tell you that passive waiting is how timelines slip. Structured monitoring keeps fabrication on track and surfaces problems before they become costly rework.
Follow these four monitoring steps during fabrication:
- Request weekly progress photos. Ask your supplier for images of the CNC machining and EDM electrode work at defined intervals. Visual checkpoints make it easy to catch dimensional deviations or surface finish issues early.
- Verify the heat treatment schedule. Steel core and cavity components require proper hardening to hit target durometer ratings. Confirm the planned schedule in writing — skipped or rushed heat treatment directly shortens mold life.
- Confirm the T1 sample timeline. Lock in the specific date for first-trial shots before machining begins. A shared project calendar with milestone dates removes ambiguity and holds both parties accountable.
- Document every milestone in writing. Vague verbal agreements erode accountability. Clear deliverable definitions reduce communication delays and protect your schedule if disputes arise.
T1 samples are a hard gate — not a formality. No production run should begin until first-trial parts are physically in hand. Once your supplier ships those samples, the critical validation work begins.
Step 5: Inspect and Validate T1 Samples
Once fabrication wraps up, T1 samples mark the critical final checkpoint before any production run begins. According to the OxRapid Quality Control Protocol, T1 samples are the first parts off the tool — used specifically to identify fine-tuning requirements before the mold is hardened or committed to volume production. Skipping a rigorous T1 review is one of the fastest ways to undermine an otherwise well-managed project.
Start with dimensional inspection. Measure every critical feature against the 2D drawing using calipers, CMM equipment, or optical comparators. Tolerances that looked acceptable on a CAD model can shift during tooling — catching this now avoids costly rework later.
Next, visually inspect the molded parts for these common defects:
- Flash — thin plastic film at parting lines indicating excessive mold gap
- Short shots — incomplete fill caused by inadequate pressure or venting
- Warping — dimensional distortion from uneven cooling or poor gate placement
- Sink marks — surface depressions linked to wall thickness inconsistencies
Test mechanical fit if the part functions within an assembly. Confirm mating interfaces, snap fits, and clearances all perform as designed.
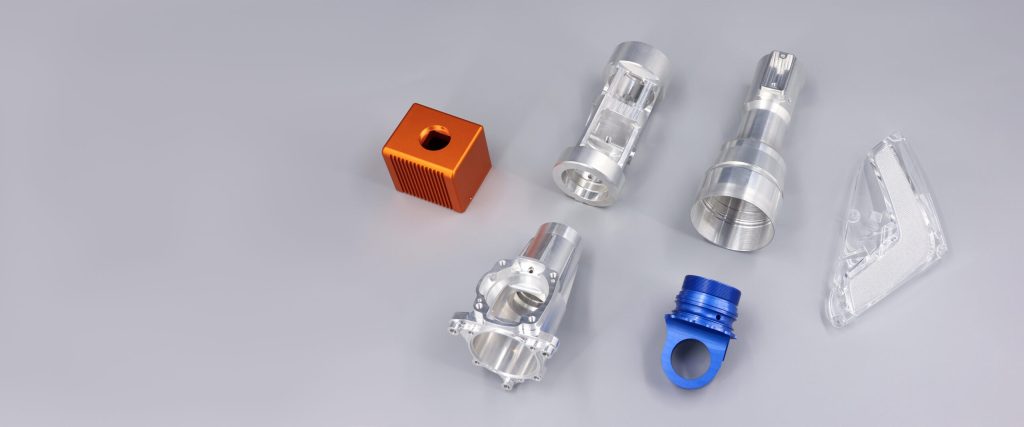
Finally, approve the surface finish — whether that’s a textured standard like MT-11010 or a polished SPI-A2 spec — before sign-off. Getting this right early is how you properly set up a rapid tooling project for a smooth transition into full production, which ties directly into the broader procurement decisions covered next.
How to Summarize the Rapid Tooling Procurement Process
With T1 validation complete, it’s worth stepping back to consolidate the core principles that drive a successful rapid tooling engagement. As Align Digital notes, a clear decision-making framework guides every stage — from supplier selection to final approval.
Keep these four principles front of mind:
- Prioritize early DFM reports. Manufacturers who surface design-for-manufacturability issues upfront prevent costly rework downstream. Teams that flag DFM concerns before cutting steel save both time and budget.
- Match mold material to production volume. Aluminum tooling suits low-to-mid volumes, while hardened steel supports higher-output demands. According to Fictiv, selecting the right material upfront directly impacts tool longevity and per-part cost.
- Verify the provider’s technical network. Transparent access to engineering expertise — not just a sales contact — signals a capable partner.
- Never skip T1 sample validation. Dimensional checks and material certifications confirm the mold performs as designed before any production commitment.
In practice, teams that apply these checkpoints consistently reduce iteration cycles and avoid late-stage surprises. The process is straightforward once each phase is understood — though a few common questions still arise. The next section addresses those directly.
How to Address Common Rapid Tooling FAQs
What is a business that provides a service called in manufacturing?
In contract manufacturing, the entity delivering the mold or molding service is legally defined as the Providing Company — the party contractually responsible for delivering the specified product or service according to Law Insider. This is distinct from being responsible for a mold’s end-use performance, which may fall on the buyer or brand owner depending on contract terms you’ll find outlined in customer agreements.
How long does rapid tooling typically take?
Lead times typically run 2–4 weeks from design freeze to T1 samples, compared to 12–16 weeks for hardened production tooling, according to Formlabs.
Can rapid tooling molds be modified after T1?
Yes. Suppliers intentionally machine steel-safe — leaving extra material where dimensions may need adjustment. This allows post-T1 modifications without scrapping the tool entirely. However, corrections requiring material addition are more complex, so front-loading DFM review early remains the smartest risk-reduction move.
What separates “providing” from “being responsible for” a mold?
The providing company fabricates and delivers the tool; the buyer assumes responsibility for part design, end-use validation, and production oversight unless the contract explicitly states otherwise.


